


If you want to take a screenshot using keyboard shortcuts, then there are three ways you can do so. There’s another method if you have MacBook Pro with a Touch Bar. The macOS software provides you with numerous options using which you can save, delete and open screenshots.
Before we continue with the different methods of taking screenshots on Mac, know that these apply to the latest Macs as well.
Method# 1: Cmd-Shift-3
You can take screenshots of your entire screen with this keyboard shortcut.
Method# 2: Cmd-Shift-4
This shortcut would convert your cursor and you will see a crosshair that you can use to select a portion of the screen. To take the screenshot, release the trackpad or mouse button. After using this keyboard shortcut, you can do various functions.
- Pressing and releasing the spacebar will shift the crosshair into a camera icon that you can use in any window you might have opened. Click on the window you want to screenshot.
- Pressing and holding the spacebar after highlighting an area without leaving the trackpad/mouse button. This will let you lock the size and shape of the selected area that you can reposition on the screen.
- Holding down the shift key after using it to highlight an area before letting go of the trackpad or mouse button, would lock every side of the selection area with crosshair except the bottom edge so you can move the cursor up and down to set the bottom.
Release the shift key without freeing the mouse button to relocate the right edge of the selection area.
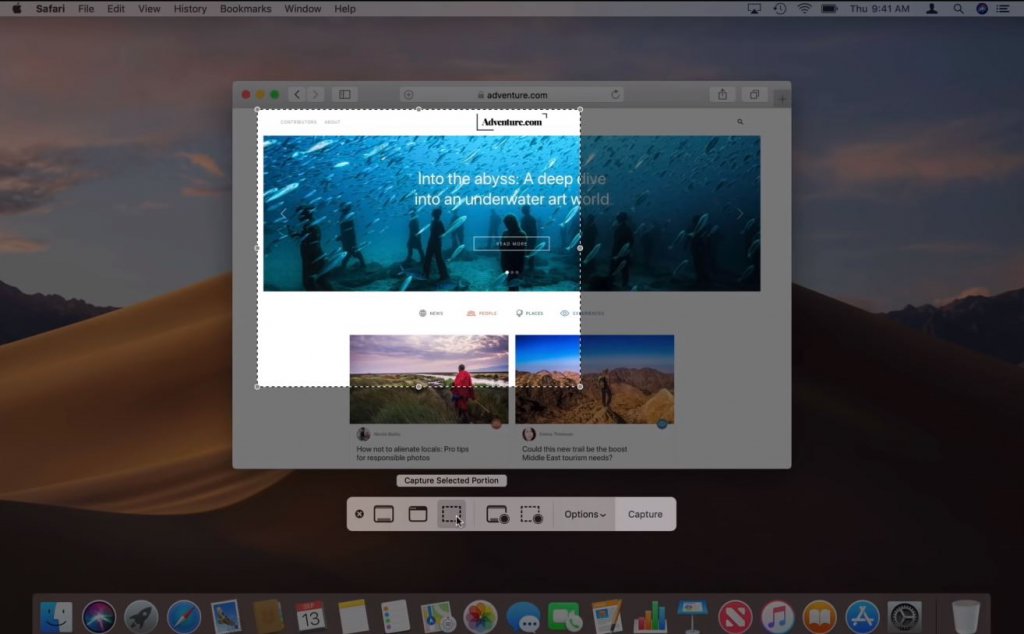
Method #3: Cmd-Shift-5
This keyboard shortcut was introduced in 2018 in MacOS Mojave. Cmd-Shift-5 prompts up a compact panel at bottom of a display showing screen capture options. You can take a screenshot of:
- Complete screen
- A window
- Selected part screen
You can also record the entire screen or selection of it using the video recording button.
On the right, you would see different Options that lets you pick the destination to save the screenshot – Clipboard, Desktop, Documents, Mail, Messages, or others. Also, you can set a 5 or 10-second delay to arrange items that could get lost when you use the screenshot tool.
The Show Floating Thumbnail option is turned on by default which allows users to view a little thumbnail of their latest screenshot. This would show in the downright corner of the screen, similar to the way the screenshot shows on an iOS device. Unlike on iPhone, you can also turn off the features to view thumbnails on Mac. If you get bothered by the screenshot panel and feel that it is in your way, you can drag and move it to some other spot on the screen by grabbing its left edge.
Cmd-Shift-6 – For Touchbar MacBooks
If you have a 13-inch MacBook Pro or the older 15 or 16-inch MacBook Pro, You could also screenshot whatever is showing presently on the Touch Bar. All you have to do is hit the Cmd-Shift-6 for taking its wide screenshot.
There you go, now you can take a screenshot on Mac through these easy ways.