


Ever since the global pandemic restricted everyone to their homes, businesses have also found efficient means to work remotely. Remote collaboration tools and meetings have become the norm in the workplace nowadays. Microsoft Teams is a smart collaboration tool that lets you share the screen as well so you can visually represent what you are speaking about.
Whether you want to demonstrate the usage of an application or software, give a presentation, or introduce a new feature, knowing how to share your screen on Microsoft teams could be helpful in communication. Sharing your screen on Microsoft Teams is simple and offers a wide range of features and interesting options you can pick from:
Steps to Share Screen on Microsoft Teams
Here is how you can share screens on Microsoft Teams:
Step 1: First of all, join a meeting in Microsoft Teams
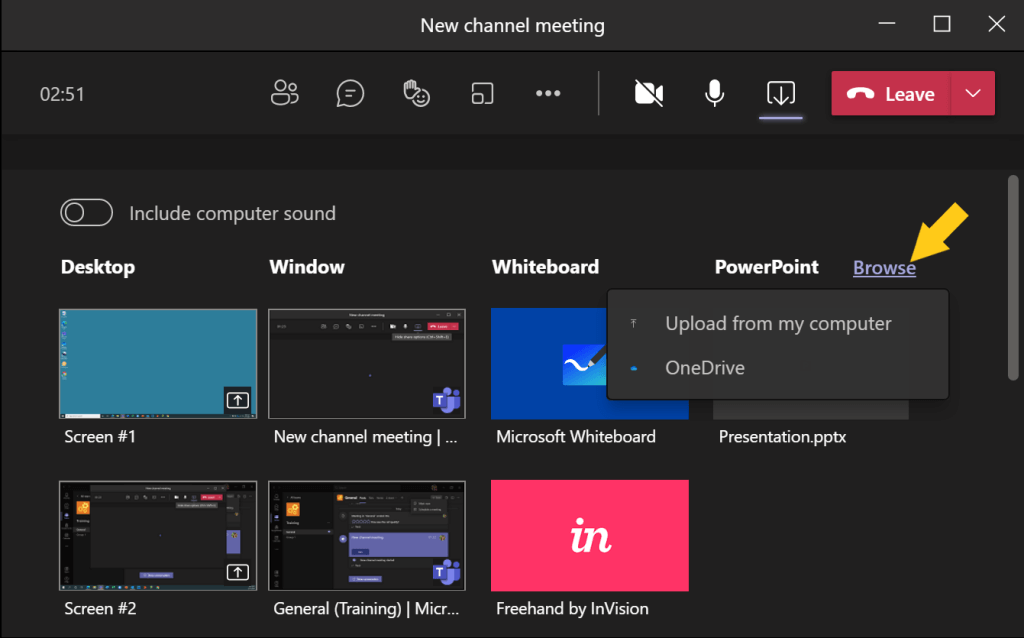
Step 2: Now, go to the call menu and click on the share icon
Step 3: This will display the screen-sharing options.
You can choose from:
- Particular apps
- Browser tabs
- Microsoft teams extensions
- Browser tabs
to share your screen on Microsoft Teams. You can select the different options from the menu:
The desktop will show your computer’s desktop
A window will show a particular app on the desktop
Powerpoint will show your slides
Browse will allow you to find the file you want to show
When you begin screen sharing, a red border will appear around the shared media for some options. This way, you know which areas of the screen you are sharing or not. When you select Windows to share your screen, it can lead to confusion as your teammates cannot see the folders you open in another window.
Sharing Screen Using Microsoft Teams Web App
You don’t have to additionally install anything to use this app as it is completely browser-based. Users can access Microsoft Teams Web App by opening https://teams.microsoft.com in the browser.
Now let’s learn how you can share your screen during a meeting in the Microsoft Teams web app:
- Same as before, it will begin once you are in a meeting. Choose the icon of Share (an arrow in a rectangle) from the central area menu below
- Select the content that you wish to share with the other people in the meeting
- You are available with two options: Desktop/Window. After selecting this, you have a few more options:
- Window: This means a single app or window saving you from accidentally sharing email etc.
- Entire Screen: This will share the complete monitor or screen and everything on it.
- PowerPoint: Choose a recent presentation or tap on Browser to find the presentation and use this feature.
- Microsoft Edge tab: This would keep you from switching to a sensitive app or tab. It’s a single browser tab, much like the app/window option.
- Press the same Share button to stop sharing once you are done. You can also use the Stop sharing dialog.
Screen sharing is one of the most important features you can use in meetings. Hopefully, now you have mastered the art of screen sharing without messing up!