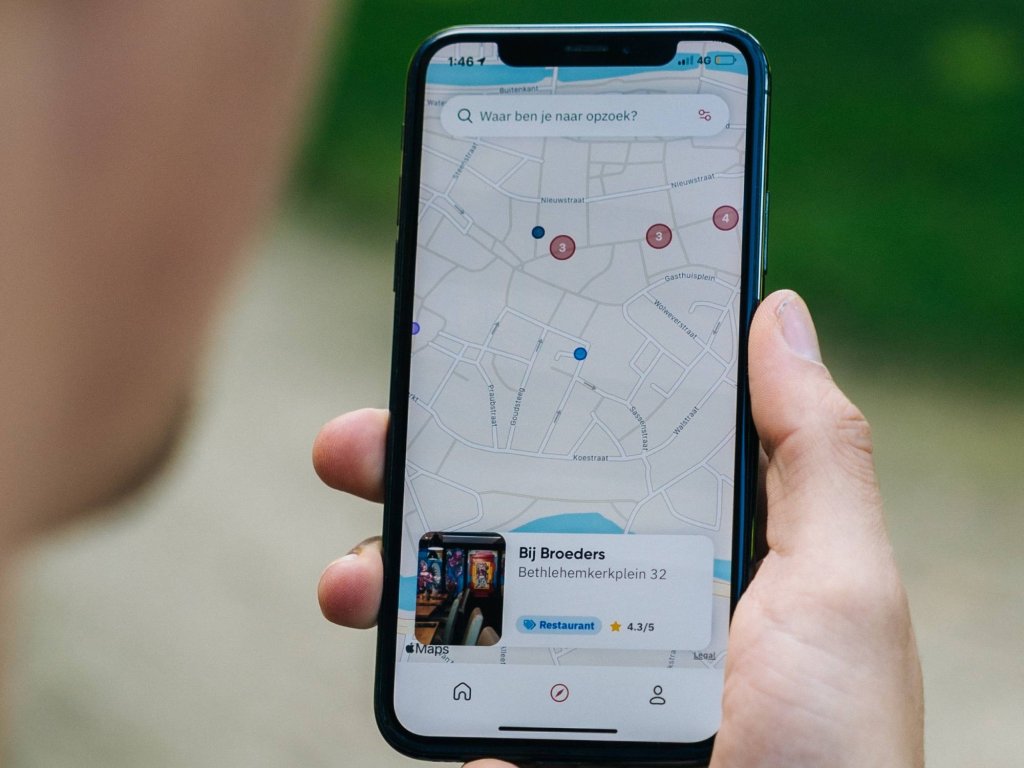
In the fast-paced world, there often arise moments when we need to keep our friends and family informed about our whereabouts. Fortunately, Apple Maps offers a simple and efficient solution through its Share My Location feature. In this comprehensive guide, we’ll walk you through the various methods to effortlessly share your live location using Apple Maps on your iPhone, iPad, and Mac.
Sharing Live Location on iPhone and iPad: The Optimal Methods
With a plethora of methods available for sharing live locations via Apple Maps, it’s natural to seek the most effective approach. Today, we’ll explore these methods, ensuring you can pick the one that suits you best.
Method 1: Using Home Screen Quick Actions
- Long Press the Apple Maps App Icon: Start by long-pressing the Apple Maps app icon on your iPhone or iPad’s home screen.
- Tap the “Share My Location” button From the pop-up menu.
- Grant Location Access: If prompted, provide the necessary access permissions for location sharing.
- Choose Access Preferences: Decide whether you want to allow access at all times or only when the app is in use.
- Select Medium: Now, simply choose the medium through which you wish to share your live location.
- Follow On-Screen Instructions: Proceed by following the on-screen prompts and finalize the process by tapping “Send.”
Method 2: Using Apple Maps Interface
- Launch Apple Maps: Open the Apple Maps app on your iPhone or iPad.
- Access Map Controls: Swipe up the map controls menu to reveal additional options.
- Scroll down and then select “Share My Location.”
- Select Medium: Now, opt for the platform you’d like to use to share your live location.
- Follow On-Screen Instructions: Follow the prompts on the screen, and wrap up the process by tapping “Send.”
Method 3: Sharing a Pin Locationco
- Access Apple Maps: Open the Apple Maps app on your device.
- Drop a Pin: Drop a pin on the location you want to share.
- Tap “Share”: When prompted, tap the share icon.
- Choose Medium: Select the preferred medium for transferring your location.
- Follow Instructions: Follow the on-screen instructions, and complete the process by tapping “Send.”
Sharing Live Location on Mac: A Seamless Endeavor
Sharing live locations using Apple Maps on a Mac is a breeze. Here’s how you can do it:
Method 1: Direct Sharing from Apple Maps
- Open Apple Maps: Launch the Apple Maps app on your Mac.
- Click the Share Icon: Locate and click on the share icon located at the top-right corner of the screen.
- Choose Medium: From the options, choose the platform through which you’d like to share your live location.
Method 2: Enhanced Sharing via Pop-up Menu
- Launch Apple Maps: Open the Apple Maps app on your Mac.
- Click a Location: Click on the location you want to share.
- Select Three-Dot Icon: A pop-up menu will appear; choose the three-dot icon.
- Click “Share”: Click on “Share” from the menu.
- Select Device Sharing: To share with other connected devices using Airdrop, click “Send to Device” and then select your paired device.
FAQs for a Seamless Experience
Can You Share with Non-Apple Devices?
Absolutely, sharing your live location via Apple Maps can be received by non-Apple devices as well. Recipients will receive a link that can be opened on any device with a web browser.
Can You Share in Low-Power Mode?
Yes, Apple Maps enables you to share your location regardless of the power-saving settings on your devices.


